The trendy duotone effect is ubiquitous in today’s websites and illustrations for good reason: it highlights content well, rendering it pleasing to the eye, especially on minimal web platforms. The sky is the limit as to how much you can play with colors while applying a duotone effect. You could keep trying them out until something stands out.
Here are two images with a duotone effect applied from design tools, such as Adobe’s Photoshop and Illustrator:
 Source:
 adobedownload.org
 Source:
 Adobe
The Cloudinary process is a lot simpler and faster, however. Read on for the details.
To apply duotone to an image with Cloudinary:
Upload to Cloudinary the image, for example, the one below.

Add the e_grayscale and e_tint parameters to the image URL, which then reads:
Ruby:
cl_image_tag("fashion_woman.jpg", :transformation=>[
  {:effect=>"grayscale"},
  {:effect=>"tint"}
  ])
PHP v1:
cl_image_tag("fashion_woman.jpg", array("transformation"=>array(
  array("effect"=>"grayscale"),
  array("effect"=>"tint")
  )))
PHP v2:
(new ImageTag('fashion_woman.jpg'))
  ->effect(Effect::grayscale())
  ->adjust(Adjust::tint());
Python:
CloudinaryImage("fashion_woman.jpg").image(transformation=[
  {'effect': "grayscale"},
  {'effect': "tint"}
  ])
Node.js:
cloudinary.image("fashion_woman.jpg", {transformation: [
  {effect: "grayscale"},
  {effect: "tint"}
  ]})
Java:
cloudinary.url().transformation(new Transformation()
  .effect("grayscale").chain()
  .effect("tint")).imageTag("fashion_woman.jpg");
JS:
cloudinary.imageTag('fashion_woman.jpg', {transformation: [
  {effect: "grayscale"},
  {effect: "tint"}
  ]}).toHtml();
jQuery:
$.cloudinary.image("fashion_woman.jpg", {transformation: [
  {effect: "grayscale"},
  {effect: "tint"}
  ]})
React:
<Image publicId="fashion_woman.jpg" >
  <Transformation effect="grayscale" />
  <Transformation effect="tint" />
</Image>
Vue.js:
<cld-image publicId="fashion_woman.jpg" >
  <cld-transformation effect="grayscale" />
  <cld-transformation effect="tint" />
</cld-image>
Angular:
<cl-image public-id="fashion_woman.jpg" >
  <cl-transformation effect="grayscale">
  </cl-transformation>
  <cl-transformation effect="tint">
  </cl-transformation>
</cl-image>
.NET:
cloudinary.Api.UrlImgUp.Transform(new Transformation()
  .Effect("grayscale").Chain()
  .Effect("tint")).BuildImageTag("fashion_woman.jpg")
Android:
MediaManager.get().url().transformation(new Transformation()
  .effect("grayscale").chain()
  .effect("tint")).generate("fashion_woman.jpg");
iOS:
imageView.cldSetImage(cloudinary.createUrl().setTransformation(CLDTransformation()
  .setEffect("grayscale").chain()
  .setEffect("tint")).generate("fashion_woman.jpg")!, cloudinary: cloudinary)

Assign a numerical value, e.g., 50, to e_tint. The URL then reads:
Ruby:
cl_image_tag("fashion_woman.jpg", :transformation=>[
  {:effect=>"grayscale"},
  {:effect=>"tint:50"}
  ])
PHP v1:
cl_image_tag("fashion_woman.jpg", array("transformation"=>array(
  array("effect"=>"grayscale"),
  array("effect"=>"tint:50")
  )))
PHP v2:
(new ImageTag('fashion_woman.jpg'))
  ->effect(Effect::grayscale())
  ->adjust(Adjust::tint(50));
Python:
CloudinaryImage("fashion_woman.jpg").image(transformation=[
  {'effect': "grayscale"},
  {'effect': "tint:50"}
  ])
Node.js:
cloudinary.image("fashion_woman.jpg", {transformation: [
  {effect: "grayscale"},
  {effect: "tint:50"}
  ]})
Java:
cloudinary.url().transformation(new Transformation()
  .effect("grayscale").chain()
  .effect("tint:50")).imageTag("fashion_woman.jpg");
JS:
cloudinary.imageTag('fashion_woman.jpg', {transformation: [
  {effect: "grayscale"},
  {effect: "tint:50"}
  ]}).toHtml();
jQuery:
$.cloudinary.image("fashion_woman.jpg", {transformation: [
  {effect: "grayscale"},
  {effect: "tint:50"}
  ]})
React:
<Image publicId="fashion_woman.jpg" >
  <Transformation effect="grayscale" />
  <Transformation effect="tint:50" />
</Image>
Vue.js:
<cld-image publicId="fashion_woman.jpg" >
  <cld-transformation effect="grayscale" />
  <cld-transformation effect="tint:50" />
</cld-image>
Angular:
<cl-image public-id="fashion_woman.jpg" >
  <cl-transformation effect="grayscale">
  </cl-transformation>
  <cl-transformation effect="tint:50">
  </cl-transformation>
</cl-image>
.NET:
cloudinary.Api.UrlImgUp.Transform(new Transformation()
  .Effect("grayscale").Chain()
  .Effect("tint:50")).BuildImageTag("fashion_woman.jpg")
Android:
MediaManager.get().url().transformation(new Transformation()
  .effect("grayscale").chain()
  .effect("tint:50")).generate("fashion_woman.jpg");
iOS:
imageView.cldSetImage(cloudinary.createUrl().setTransformation(CLDTransformation()
  .setEffect("grayscale").chain()
  .setEffect("tint:50")).generate("fashion_woman.jpg")!, cloudinary: cloudinary)

The bigger the number, the stronger the effect.
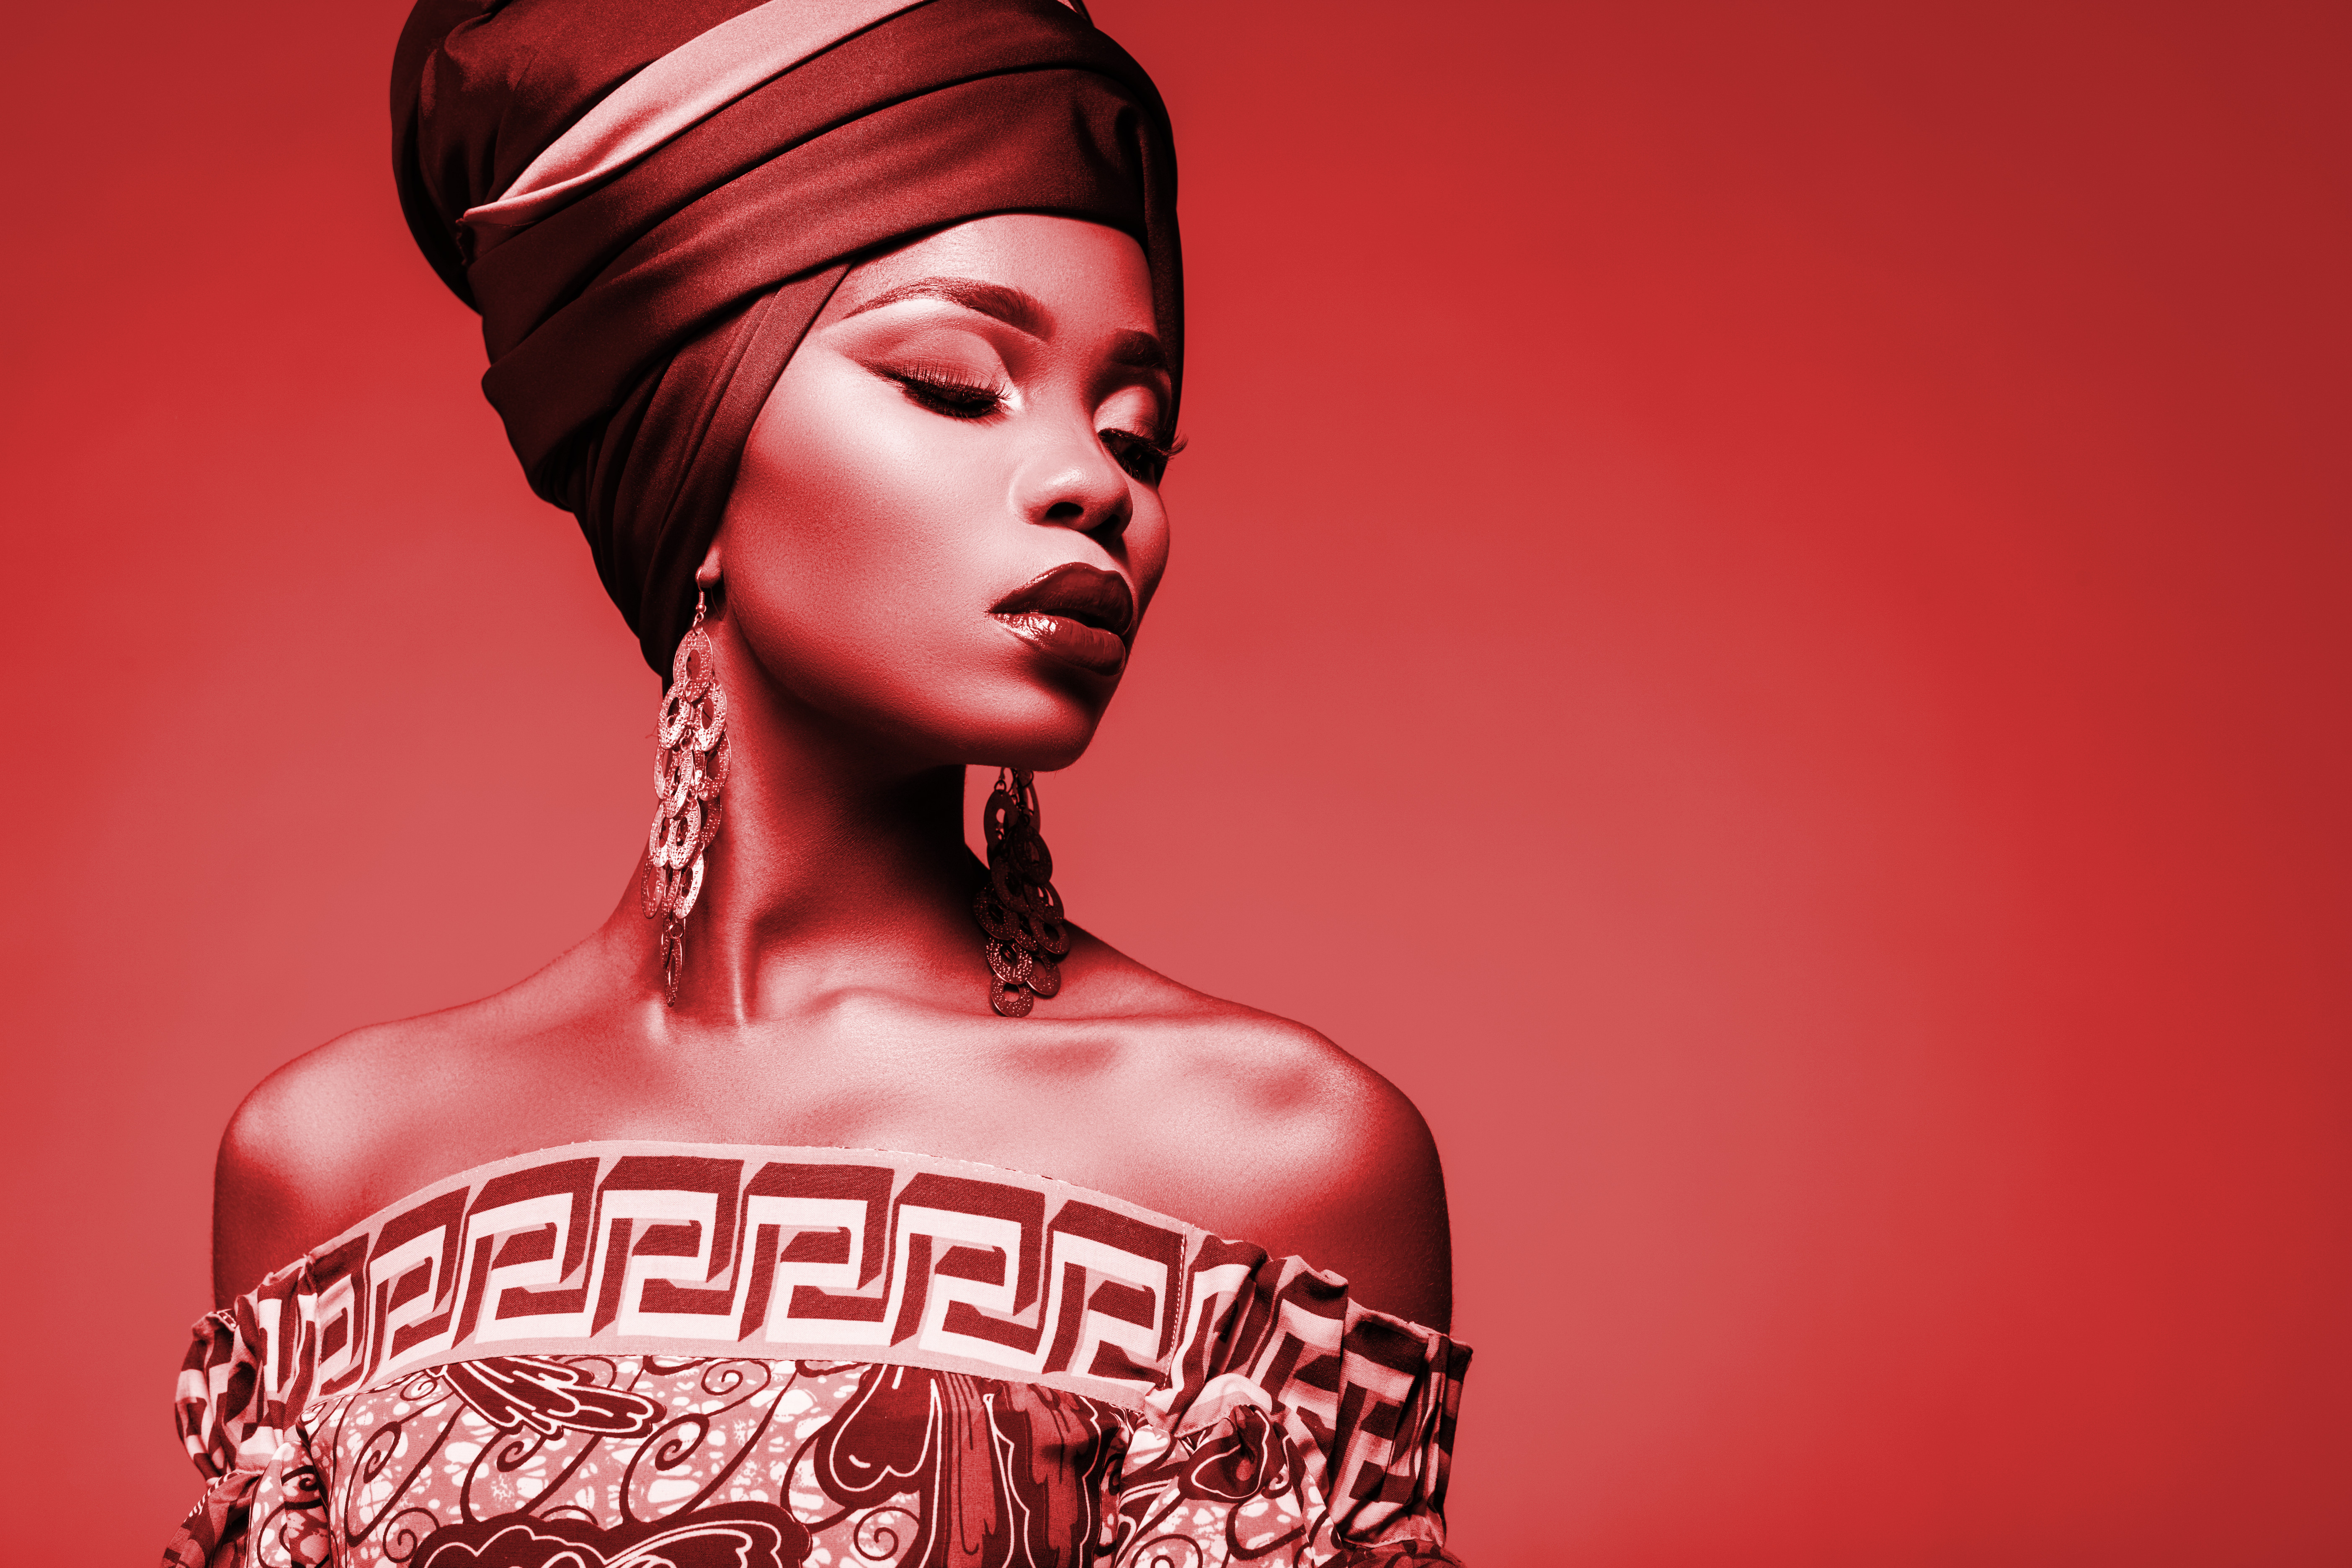
By default, the duotone color is red. For a different color, specify it in e_tint, for example blue:
Ruby:
cl_image_tag("fashion_woman.jpg", :transformation=>[
  {:effect=>"grayscale"},
  {:effect=>"tint:50:blue"}
  ])
PHP v1:
cl_image_tag("fashion_woman.jpg", array("transformation"=>array(
  array("effect"=>"grayscale"),
  array("effect"=>"tint:50:blue")
  )))
PHP v2:
(new ImageTag('fashion_woman.jpg'))
  ->effect(Effect::grayscale())
  ->adjust(Adjust::tint('50:blue'));
Python:
CloudinaryImage("fashion_woman.jpg").image(transformation=[
  {'effect': "grayscale"},
  {'effect': "tint:50:blue"}
  ])
Node.js:
cloudinary.image("fashion_woman.jpg", {transformation: [
  {effect: "grayscale"},
  {effect: "tint:50:blue"}
  ]})
Java:
cloudinary.url().transformation(new Transformation()
  .effect("grayscale").chain()
  .effect("tint:50:blue")).imageTag("fashion_woman.jpg");
JS:
cloudinary.imageTag('fashion_woman.jpg', {transformation: [
  {effect: "grayscale"},
  {effect: "tint:50:blue"}
  ]}).toHtml();
jQuery:
$.cloudinary.image("fashion_woman.jpg", {transformation: [
  {effect: "grayscale"},
  {effect: "tint:50:blue"}
  ]})
React:
<Image publicId="fashion_woman.jpg" >
  <Transformation effect="grayscale" />
  <Transformation effect="tint:50:blue" />
</Image>
Vue.js:
<cld-image publicId="fashion_woman.jpg" >
  <cld-transformation effect="grayscale" />
  <cld-transformation effect="tint:50:blue" />
</cld-image>
Angular:
<cl-image public-id="fashion_woman.jpg" >
  <cl-transformation effect="grayscale">
  </cl-transformation>
  <cl-transformation effect="tint:50:blue">
  </cl-transformation>
</cl-image>
.NET:
cloudinary.Api.UrlImgUp.Transform(new Transformation()
  .Effect("grayscale").Chain()
  .Effect("tint:50:blue")).BuildImageTag("fashion_woman.jpg")
Android:
MediaManager.get().url().transformation(new Transformation()
  .effect("grayscale").chain()
  .effect("tint:50:blue")).generate("fashion_woman.jpg");
iOS:
imageView.cldSetImage(cloudinary.createUrl().setTransformation(CLDTransformation()
  .setEffect("grayscale").chain()
  .setEffect("tint:50:blue")).generate("fashion_woman.jpg")!, cloudinary: cloudinary)

You can mix colors, for example, add yellow to blue in e_tint. The URL then reads:
Ruby:
cl_image_tag("fashion_woman.jpg", :transformation=>[
  {:effect=>"grayscale"},
  {:effect=>"tint:50:blue:yellow"}
  ])
PHP v1:
cl_image_tag("fashion_woman.jpg", array("transformation"=>array(
  array("effect"=>"grayscale"),
  array("effect"=>"tint:50:blue:yellow")
  )))
PHP v2:
(new ImageTag('fashion_woman.jpg'))
  ->effect(Effect::grayscale())
  ->adjust(Adjust::tint('50:blue:yellow'));
Python:
CloudinaryImage("fashion_woman.jpg").image(transformation=[
  {'effect': "grayscale"},
  {'effect': "tint:50:blue:yellow"}
  ])
Node.js:
cloudinary.image("fashion_woman.jpg", {transformation: [
  {effect: "grayscale"},
  {effect: "tint:50:blue:yellow"}
  ]})
Java:
cloudinary.url().transformation(new Transformation()
  .effect("grayscale").chain()
  .effect("tint:50:blue:yellow")).imageTag("fashion_woman.jpg");
JS:
cloudinary.imageTag('fashion_woman.jpg', {transformation: [
  {effect: "grayscale"},
  {effect: "tint:50:blue:yellow"}
  ]}).toHtml();
jQuery:
$.cloudinary.image("fashion_woman.jpg", {transformation: [
  {effect: "grayscale"},
  {effect: "tint:50:blue:yellow"}
  ]})
React:
<Image publicId="fashion_woman.jpg" >
  <Transformation effect="grayscale" />
  <Transformation effect="tint:50:blue:yellow" />
</Image>
Vue.js:
<cld-image publicId="fashion_woman.jpg" >
  <cld-transformation effect="grayscale" />
  <cld-transformation effect="tint:50:blue:yellow" />
</cld-image>
Angular:
<cl-image public-id="fashion_woman.jpg" >
  <cl-transformation effect="grayscale">
  </cl-transformation>
  <cl-transformation effect="tint:50:blue:yellow">
  </cl-transformation>
</cl-image>
.NET:
cloudinary.Api.UrlImgUp.Transform(new Transformation()
  .Effect("grayscale").Chain()
  .Effect("tint:50:blue:yellow")).BuildImageTag("fashion_woman.jpg")
Android:
MediaManager.get().url().transformation(new Transformation()
  .effect("grayscale").chain()
  .effect("tint:50:blue:yellow")).generate("fashion_woman.jpg");
iOS:
imageView.cldSetImage(cloudinary.createUrl().setTransformation(CLDTransformation()
  .setEffect("grayscale").chain()
  .setEffect("tint:50:blue:yellow")).generate("fashion_woman.jpg")!, cloudinary: cloudinary)

Feel free to experiment further with other colors.
For the syntax of applying various duotone effects along with examples, check out this API reference and cookbook.


