MediaFlows user guide
Last updated: Mar-25-2024
To start using MediaFlows you need:
- An active Cloudinary account. If you don’t have one, sign up here for free.
- Master admin permissions in your Cloudinary account, in order to connect a project to your Cloudinary environment.
MediaFlows account
You can Sign up to MediaFlows using your Gmail or GitHub account, or using any valid email address.
Account settings
You can access the account settings by clicking your Profile image at the top right of the screen, then clicking Settings.
In your account settings, you can delete your account. Deletion is final once approved.
MediaFlows project
A project is a space where you can host multiple flows. Each project is connected to a specific Cloudinary product environment. The flows hosted in a project can interact only with the product environment of the project. You can create multiple projects and connect them to different product environments.
Your MediaFlows account begins with a single empty project called "My project".
Create a new project
- From the MediaFlows home page, expand the project selection box and then click + New project.
- Provide a name for the project and click the Create button.
Once the project is created, it is automatically selected and included in the project selection box.
Connect a project
To run flows in a project, you must first connect the project to a Cloudinary environment as follows:
- Click Connect to Cloudinary to be transferred to Cloudinary's login page.
-
On the OAuth Application Login Page, log in to Cloudinary.
ImportantThis login is for Cloudinary. Please use the login method and credentials you use to log into Cloudinary. On the An application requests access to your data page, choose the product environment you want to link with this project and click Accept Access.
Project settings
From within a project, you can access the project settings by clicking the cogwheel.
From the settings page you can:
- Change the project name
- Update the data center to use (for Cloudinary Enterprise customers)
- Delete the project
- Reconnect the project to a product environment
- Set environment variables that can later be accessed in all flows hosted in the project. These variables can later be accessed as dynamic values.
MediaFlows flow
A flow is composed of a set of functional blocks that you connect together, creating step-by-step actions to execute. Blocks can be used for a variety of actions, from interacting with media in Cloudinary, to sending notification emails. You can trigger flows using webhooks, or schedule them to run at predefined times.
Create a new flow
A flow is created within a specific project. You can either select one of the given flow starting templates, or you can create your own from scratch by clicking on the + Start from scratch button.
Feel free to explore the out-of-the-box templates. They can serve as an inspiration and help you discover the various use cases that MediaFlows can solve. Choose any template and personalize it according to your specific requirements.
After selecting a template, you will be redirected to the canvas to view and build your flow.
FlowAI
If you feel experimental, feel free to use the FlowAI feature. Describe the flow you wish to build and click the Generate button.
Once the flow is generated, you will be redirected to the canvas to view and build your flow.
Share a flow
You can share flows between different users and projects. Share a flow and import it to another project in your account if you want to connect it to a different product environment. Share a flow with a colleague to allow them to reuse or extend your application in their own account.
Changes made to the imported flow do not impact the originally shared flow.
To share a flow, in the canvas, open the options menu at the upper right corner and click the Share option.
The shareable URL is copied to your clipboard, ready for you to send to a colleague.
Import a flow
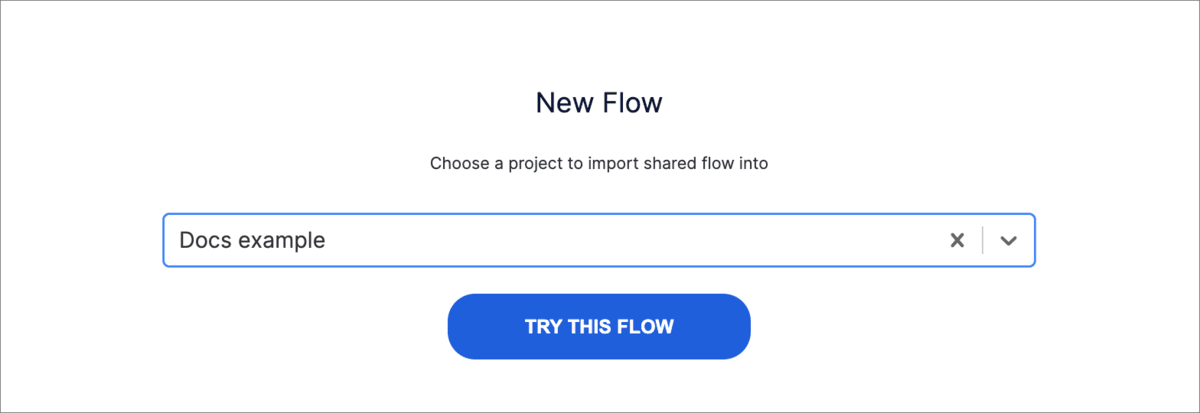
To import a flow, enter the shared URL in your browser, select the project in which you want to import this flow to, and click the Try This Flow button.
 Programmable Media
 Digital Asset Management


