Among the image formats available today, Graphics Interchange Format (GIF) works for both static and animated images. A popular use of GIF images—commonly called GIFs—is to repeatedly loop motions, which you cannot in real life. Many people have turned themselves into online celebrities through effective application of GIFs.
Cloudinary is a robust, cloud-based, end-to-end platform for uploads, storage, manipulations, optimizations, and delivery of images and videos. Notably for manipulations, you can add appeal to visual media by transforming them through resizing and application of various effects.
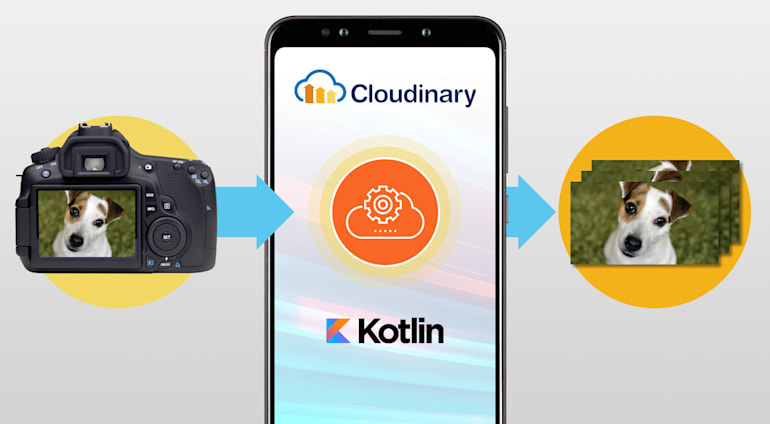
This article steps you through the procedure of leveraging Cloudinary to convert a video in an Android demo app, written in Kotlin, to a GIF. It’s a helpful task well worth learning.
Fulfilling the Preliminary Requirements
First, create a Cloudinary account.
Second, download Android Studio 3.4+, which works well with Kotlin, as the IDE for developing the demo app.
Setting Up an Android Client
Now set up an Android client by following the steps in the subsections below.
Creating an Android Project
Open Android Studio and create an Android project.
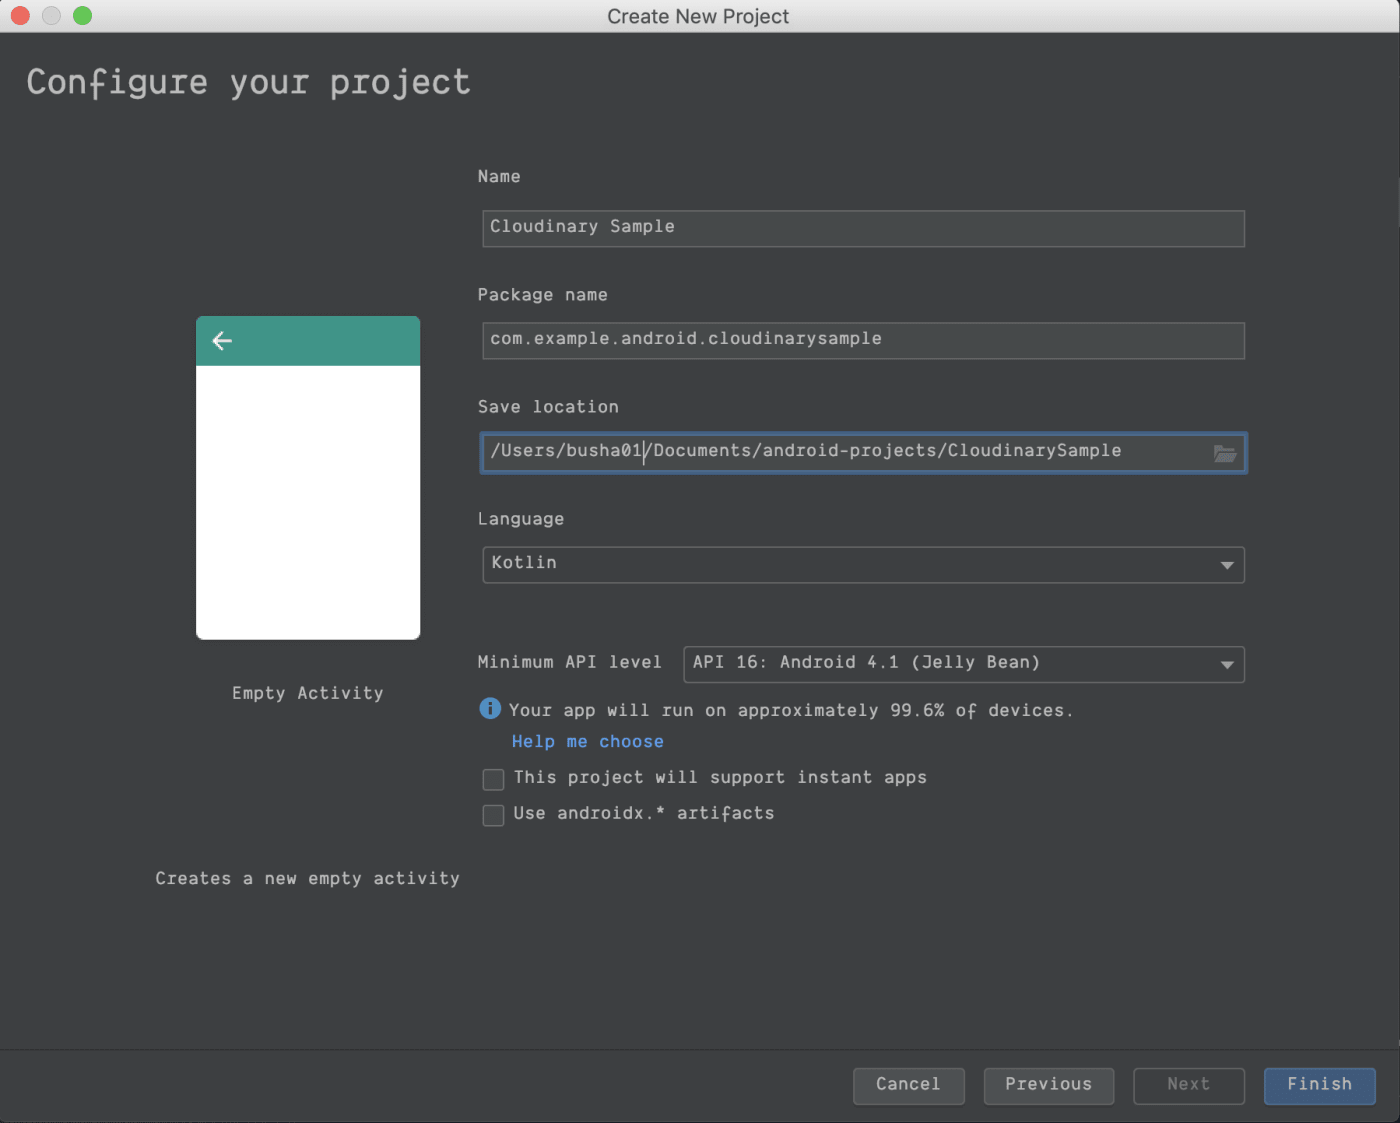
- In the Create Android Project screen, select the Empty Activity template. Click Next.

- In the Configure your project screen that is displayed, type the application name, package name, and so forth in the text fields. Select Kotlin as the language. Select API 16: Android 4.1 (Jelly Bean) from the pull-down menu as your minimum SDK, i.e., the lowest Android version supported by your app. Click Finish.

Configuring Cloudinary
Configure Cloudinary, as follows:
Edit your project’s
build.gradlefile to add the Cloudinary dependency so as to gain access to Cloudinary’s features:Edit the AndroidManifest.xml file and add the storage permissions under the uses-permission tag and the configurations under the application tag:
<manifest xmlns:android="http://schemas.android.com/apk/res/android"
package="com.example.android.cloudinarysample">

<uses-permission android:name="android.permission.READ_EXTERNAL_STORAGE"/>
<uses-permission android:name="android.permission.WRITE_EXTERNAL_STORAGE"/>

<application
    ...
    >

    <meta-data
        android:name="CLOUDINARY_URL"
        android:value="cloudinary://@myCloudName"/>

</application>
Create a class called
AppControllerto extend theApplicationclass:public class AppController : Application() { override fun onCreate() { super.onCreate() // Initialize Cloudinary MediaManager.init(this) } }AppControllerinitializesMediaManagerduring the app’s life cycle, setting up the library with the required parameters, such as the cloud name that you specified in theAndroidManifest.xmlfile in step 2.Add the
AppControllerclass as the name of the application tag to theAndroidManifest.xmlfile:
Examining the App Layout
Here is the code snippet of your layout:
<?xml version="1.0" encoding="utf-8"?>
<LinearLayout xmlns:android="http://schemas.android.com/apk/res/android"
    xmlns:tools="http://schemas.android.com/tools"
    android:layout_width="match_parent"
    android:layout_height="match_parent"
    android:layout_gravity="center"
    android:layout_margin="16dp"
    android:gravity="center"
    android:orientation="vertical"
    tools:context="com.example.android.cloudinarysample.MainActivity">

    <ProgressBar
        android:id="@+id/progress_bar"
        android:layout_width="wrap_content"
        android:layout_height="wrap_content"
        android:visibility="invisible" />

    <Button
        android:id="@+id/button_upload_video"
        android:layout_width="wrap_content"
        android:layout_height="wrap_content"
        android:layout_marginTop="10dp"
        android:text="Upload Video" />


</LinearLayout>
Note these two UI elements:
- A progress bar that slides forward while you are uploading or downloading media.
- A button that selects a video from your phone.
Uploading to Cloudinary
Cloudinary offers two types of uploads:
- Signed uploads, which require an authentication signature from a back-end. For these uploads, your images and videos are signed with the API and a secret key is displayed in your Cloudinary console. Since using that key on the client side is insecure, which could easily cause a decompilation, a back-end is mandatory.
- Unsigned uploads, which are less secure than signed ones, require no signatures. You can set the options, such as the file-size limit and file types, in an unsigned preset for unsigned uploads. A few limitations apply, for example, you cannot overwrite the existing media.
Specify unsigned uploads for the demo app by enabling them on your Cloudinary console:
- Click Dashboard and then the gear-wheel-shaped icon at the top for the settings.
Click the Upload tab near the top, scroll down to the Upload presets section, and click Enable unsigned uploading.
Cloudinary then generates a preset named with a random string. Copy that string and set it aside for later use.

Now upload a video from your phone to Cloudinary, transform the video to a GIF, and download the GIF file. Here is the related code in the MainAcivity.kt file:
private val SELECT_VIDEO: Int = 100
lateinit var TAG:String

override fun onCreate(savedInstanceState: Bundle?) {
    super.onCreate(savedInstanceState)
    setContentView(R.layout.activity_main)
    this.TAG = localClassName
    button_upload_video.setOnClickListener {
        if (checkStoragePermission()) {
            openMediaChooser()
        } else {
            requestPermission()
        }
    }

}

fun openMediaChooser() {
    val intent = Intent(Intent.ACTION_PICK, MediaStore.Video.Media.EXTERNAL_CONTENT_URI)
    startActivityForResult(intent, SELECT_VIDEO)
}

override fun onActivityResult(requestCode: Int, resultCode: Int, data: Intent?) {

    if (requestCode == SELECT_VIDEO && resultCode == Activity.RESULT_OK) {
        progress_bar.visibility = VISIBLE
        button_upload_video.visibility = INVISIBLE
        MediaManager.get()
                .upload(data!!.data)
                .unsigned("YOUR_PRESET")
                .option("resource_type", "video")
                .callback(object : UploadCallback {
                    override fun onStart(requestId: String) {
                        Log.d(TAG, "onStart")
                    }

                    override fun onProgress(requestId: String, bytes: Long, totalBytes: Long) {

                    }

                    override fun onSuccess(requestId: String, resultData: Map<*, *>) {
                        Toast.makeText(this@MainActivity, "Upload successful", Toast.LENGTH_LONG).show()

                    }

                    override fun onError(requestId: String, error: ErrorInfo) {
                        Log.d(TAG,error.description)
                        button_upload_video.visibility = VISIBLE
                        progress_bar.visibility = INVISIBLE
                        Toast.makeText(this@MainActivity,"Upload was not successful",Toast.LENGTH_LONG).show()
                    }

                    override fun onReschedule(requestId: String, error: ErrorInfo) {
                        Log.d(TAG, "onReschedule")
                    }
                }).dispatch()

    }

}
The above snippet contains three functions;
onCreate: At start, the app calls this function on the creation of an activity, with the layout in theAndroidManifest.xmlfile being the activity’s default layout. On a click of the button, which contains a listener, the app checks if storage permissions are available. If the answer is yes, the app calls the functionopenMediaChooser. Otherwise, the app requests for those permissions and, after receiving them, callsopenMediaChooser.For details on the
checkStoragePermission,requestPermission, andonPermissionsResultfunctions, see their code in the GitHub repository.openMediaChooser: This function opens your phone’s gallery to select a video, creating a unique request code in the variableSELECT_VIDEO. ThestartActivityForResultfunction denotes the requirement for a response from the video-selection process, with the response rendered in theonActivityResultfunction. If no video is selected, the app cancels the operation.onActivityResult: On a video selection, the value ofresultCodeisActivity.RESULT_OK. Otherwise, the value becomesActivity.RESULT_CANCELLED. This function checks if the request code matches the one that was sent earlier and verifies if the result code readsActivity.RESULT_OK.
A successful video selection triggers an upload to Cloudinary through a dispatch of
UploadRequest, which takes several methods. Here are four of them:
upload, which contains the URI of the selected video.unsigned, which contains the preset name from the console.option, which specifies the resource type of the upload.UploadCallback, which tracks the upload progress.
Transforming the Video
On a successful upload, the app calls the onSuccess method, which contains the request ID (requestId) and other details of the upload. You can obtain the URL of the newly uploaded video by calling resultData["url"]. To convert that video to a GIF, simply change the video’s file extension to .gif, like this:
    val publicId:String = resultData["public_id"] as String
    val gifUrl: String = MediaManager.get()
            .url()
            .resourceType("video")
            .transformation(Transformation<Transformation<out Transformation<*>>?>().videoSampling("12")!!.width("174").height("232").effect("loop:2"))
    .generate("$publicId.gif")
Cloudinary assigns to each uploaded video a unique ID, which you can access by calling resultData["public_url"]. Hence, the resulting gifUrl value is your cloud-name-based URL (usually in the format of res.cloudinary.com/<cloud name>/, appended with the video’s transformations; its resource type to be accessed; its cloud-stored, unique ID; and its output format (GIF with the file extension .gif in this case).
The above code snippet details the transformations to the GIF file: shrinking the height and width to 232 and 174 pixels, respectively; setting the frame rate to 12 fps; and directing the GIF to loop twice. Without those transformations, the GIF file would be larger than the uploaded video, defeating the purpose of GIFs, whose file size should always be smaller than their video counterparts.
For details on transforming videos with Cloudinary, see the related documentation here.
Downloading the GIF file
Now download the GIF file through the PRDownloader library. Do the following:
- Add the
PRDownloaderdependency to thebuild.gradlefile:
- Initialize
PRDownloaderin theAppController.ktfile:
    public class AppController : Application() {
        override fun onCreate() {
            super.onCreate()
            // Initialize Cloudinary
            MediaManager.init(this)
            // Initialize the PRDownload library
            PRDownloader.initialize(this)
        }
}- Create a function called
downloadGIFfor handling downloads:
    private fun downloadGIF(url: String, name: String) {
        val downloadId =
                PRDownloader
                        .download(url, getRootDirPath(), name).build()
                        .setOnStartOrResumeListener(object : OnStartOrResumeListener {
                            override fun onStartOrResume() {
                                Log.d(TAG,"download started")
                            }
                        })
                        .setOnPauseListener(object : OnPauseListener {
                            override fun onPause() {

                            }
                        })
                        .setOnCancelListener(object : OnCancelListener {
                            override fun onCancel() {

                            }
                        })
                        .setOnProgressListener(object : OnProgressListener {
                            override fun onProgress(progress: Progress) {

                            }
                        })
                        .start(object : OnDownloadListener {
                            override fun onDownloadComplete() {
                                progress_bar.visibility = INVISIBLE
                                Toast.makeText(this@MainActivity,"Download complete",Toast.LENGTH_LONG).show()
                            }

                            override fun onError(error: Error) {
                                Log.d(TAG,error.toString())
                            }
                        })

    }

    private fun getRootDirPath(): String {
        return if (Environment.MEDIA_MOUNTED == Environment.getExternalStorageState()) {
            val file = ContextCompat.getExternalFilesDirs(this@MainActivity,
                    null)[0]
            file.absolutePath
        } else {
            this@MainActivity.filesDir.absolutePath
        }
    }
PRDownload.download takes three parameters: the URL of the to-be-downloaded file, the directory in which to place it, and the file name. Hence, after generation of gifUrl, the app calls PRDownload.download in the onSuccess function of UploadCallback, as reflected here:
    override fun onSuccess(requestId: String, resultData: Map<*, *>) {
        ...
        downloadGIF(gifUrl,"$publicId.gif")
    }
Finally, the app places the downloaded file in the directory Android/data/<app package name>/files in your phone.
Summing Up
Cloudinary offers numerous useful, intuitive APIs for manipulating and storing visual media. The demo app described in this article is just the tip of the iceberg. Do check out the details of Cloudinary’s APIs and other capabilities. For the app’s complete source code, see its GitHub repository.
 |
Idorenyin Obong s is a software engineer and a technical writing machine. |


