What is React Native?
React Native is a popular open source software that enables you build mobile applications easily with JavaScript. Other similar and popular options out there include Ionic, Lungo, Sencha Touch and NativeScript Vue. You can use your existing knowledge of HTML5, CSS and JavaScript to develop mobile applications without having to learn a different set of skills.
What you need to know about React Native
To build mobile applications and be comfortable with React native development, you need to be armed with the knowledge of the following languages:
- HTML5
- CSS
- JavaScript
- React
Modern knowledge of JavaScript (ES6) is required. Wes Bos has a very good course on ES6. However, you can start with this quick tutorial that will provide you with enough knowledge to use React Native without frustration. If you know React, you possess 70 percent of the knowledge required to help you build mobile applications with React Native.
React Native Install Process
Building React Native mobile applications require you to have some software installed on your development machine that will provide the right environment to run and compile JavaScript code to native. React Native enables you to build iOS and Android apps with virtually the same code base.
Installation can be a herculean task. Be calm, be patient and follow the official guide to install everything you need to get started. Windows users can follow this very detailed guide from the folks at Infinite Red.
What You Need to Internalize
I’m sure you are wondering what this section is about. Thinking in React basically means thinking about your UI in terms of components when designing a web application.
While learning to build mobile applications with React Native, the sooner you internalize the React Native equivalents of basic HTML tags, the faster you can churn out mobile apps with your React knowledge.
Another thing you need to be aware of is that styling is different. T Styling your components in React Native via the StyleSheet module or inline styling is done like so:
- <View> ⇔ <div>
- <Text> ⇔ <p>, <h1-6>, <span>
- <Image> ⇔ <img/>
- <TextInput> ⇔ <input type=”text”/>
- <Picker> ⇔ <select>
- <Button> ⇔ <button>
import React from 'react';
import { StyleSheet, Text, View } from 'react-native';

render() {
  return (
      <View style={styles.container}>
          <Text>Start building mobile applications today</Text>
      </View>
...

const styles = StyleSheet.create({
  container: {
    flex: 1,
    backgroundColor: '#fff',
    alignItems: 'center',
    justifyContent: 'center',
  },
});
Baby Steps: The Counter App
No, we are not starting with a “Hello World” app. We’ll build a simple counter app with React and convert it into a React Native App. This approach encourages you to simply use your existing React knowledge to build a React Native app without any hassle. Let’s get started.
Set Up
Install the create-react-app node module. This tool helps us to scaffold a React web app out of the box in less than a minute.
Now, run the create-react-app command via the command line:
Create a components folder inside the src directory. This folder will house our Counter component.
Create the Counter Component
import React, { Component } from 'react';

class Counter extends Component {

  state = {
    count: 52
  }

  render() {
    const { count } = this.state;
    return (
      <section className="counter">
        <h1> Count: { count } </h1>
        <button className="full-width"> Increment </button>
        <button className="full-width"> Decrement </button>
        <button className="full-width"> Reset </button>
      </section>
    );
  }
}

export default Counter;

The buttons are currently inactive. Let’s add functionality to be able to manipulate the state. Add the handleIncrement, handleDecrement, and reset method.
  ...
  handleIncrement = () => {
    this.setState({
      count: this.state.count + 1
    });
  }

  handleDecrement = () => {
    this.setState({
      count: this.state.count - 1
    });
  }

  reset = () => {
    // you can also pass in a function to setState
    this.setState({
      count: 52
    });
  }
We are almost done with the component. Now, make the button active by assigning the appropriate function to the onClick prop of the button.
...
render() {
    const { count } = this.state;
    return (
      <section className="counter">
        <h1> Count: { count } </h1>
        <button onClick={this.handleIncrement} className="full-width"> Increment </button>
        <button onClick={this.handleDecrement} className="full-width"> Decrement </button>
        <button onClick={this.reset} className="full-width"> Reset </button>
      </section>
    );
  }
Call the Counter Component in App.js
import React, { Component } from 'react';
import Counter from './components/Counter';
import './App.css';

class App extends Component {
  render() {
    return (
      <div className="App">
        <Counter />
      </div>
    );
  }
}

export default App;
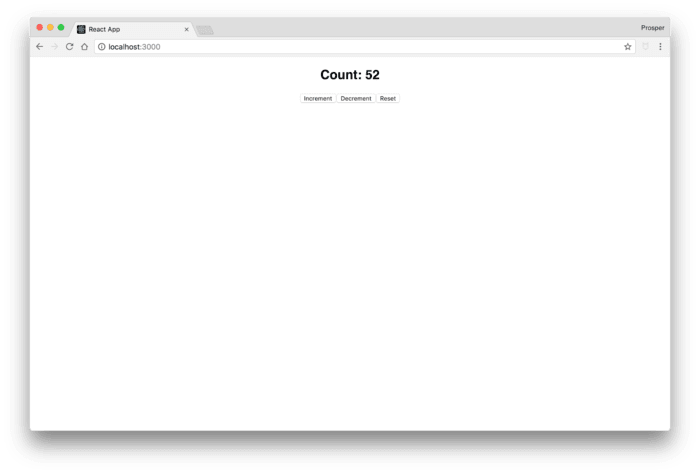
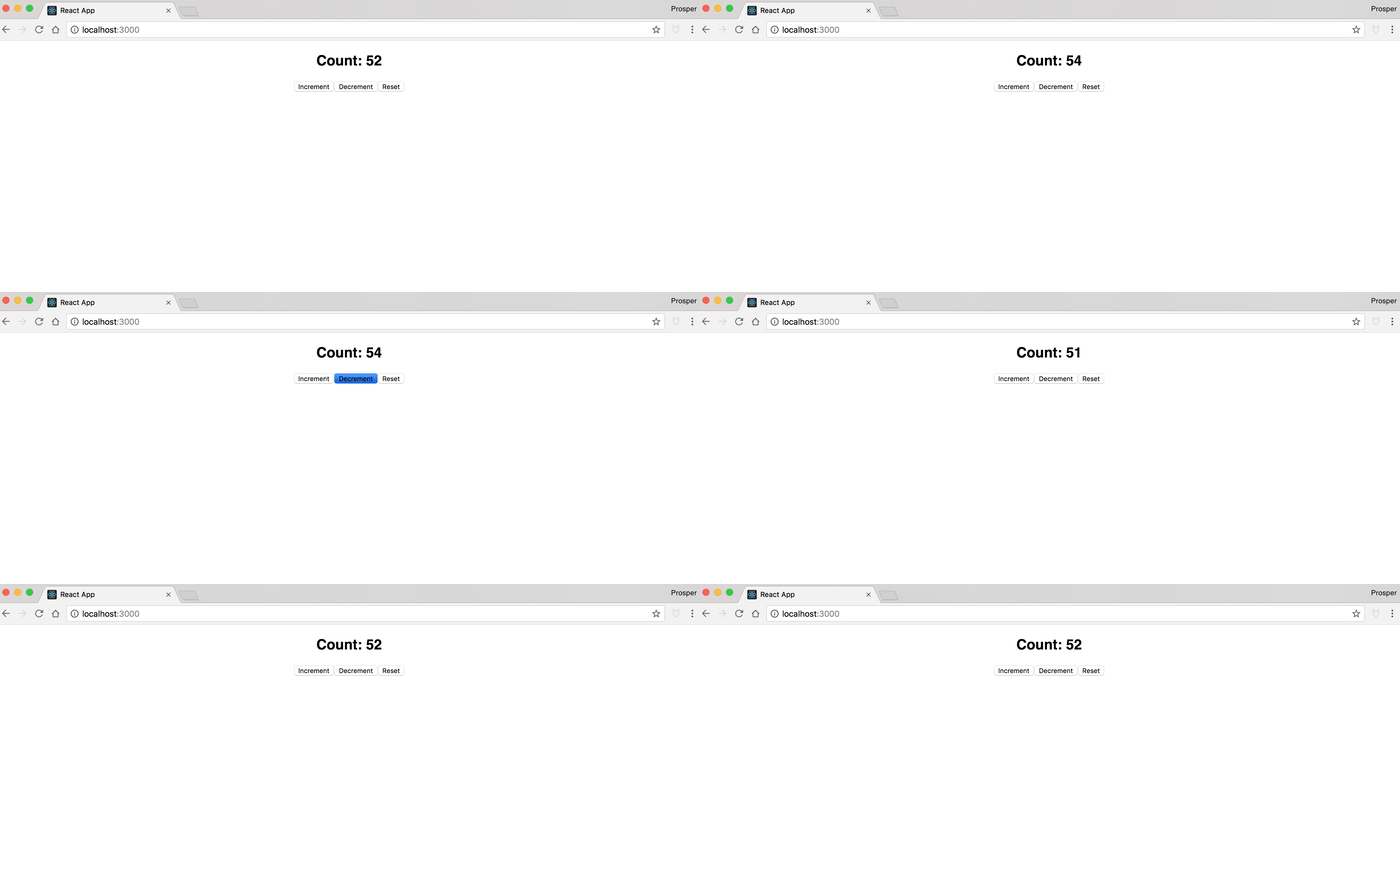
Now, test your app again. It should work properly as shown below.

Convert React Counter App to React Native App
There are a couple of steps we must take:
Import the required native components from React Native. Create a
Counter.jsfile in the app root directory and import the required native components from React Native.Add the class methods, and replace some components in render()
...
class Counter extends Component {

 state = {
    count: 52
 }

 handleIncrement = () => {
    this.setState({
        count: this.state.count + 1
    });
 }

 handleDecrement = () => {
    this.setState({
      count: this.state.count - 1
    });
 }

 reset = () => {
    this.setState({
      count: 52
    });
 }

 render() {
    const { count } = this.state;
    return (
      <View className="counter">
         <Text> Count: { count } </Text>
        <Button onPress={this.handleIncrement} title="Increment" />
        <Button onPress={this.handleDecrement} title="Decrement" />
        <Button onPress={this.reset} title="Reset" />
      </View>
    );
  }
}
Check out the following changes:
- <section> became <View>
- <h1> became <Text>
- <button> became <Button>
- onClick became onPress
- We added a title prop because the text displayed inside a button in React Native has to be the value of the button’s title property.
Import counter component in App.js
import React from 'react';
import { StyleSheet, Text, View } from 'react-native';
import Counter from './Counter';

export default class App extends React.Component {
  render() {
    return (
      <View style={styles.container}>
        <Counter />
      </View>
    );
  }
}

const styles = StyleSheet.create({
  container: {
    flex: 1,
    backgroundColor: '#fff',
    alignItems: 'center',
    justifyContent: 'center',
  },
});
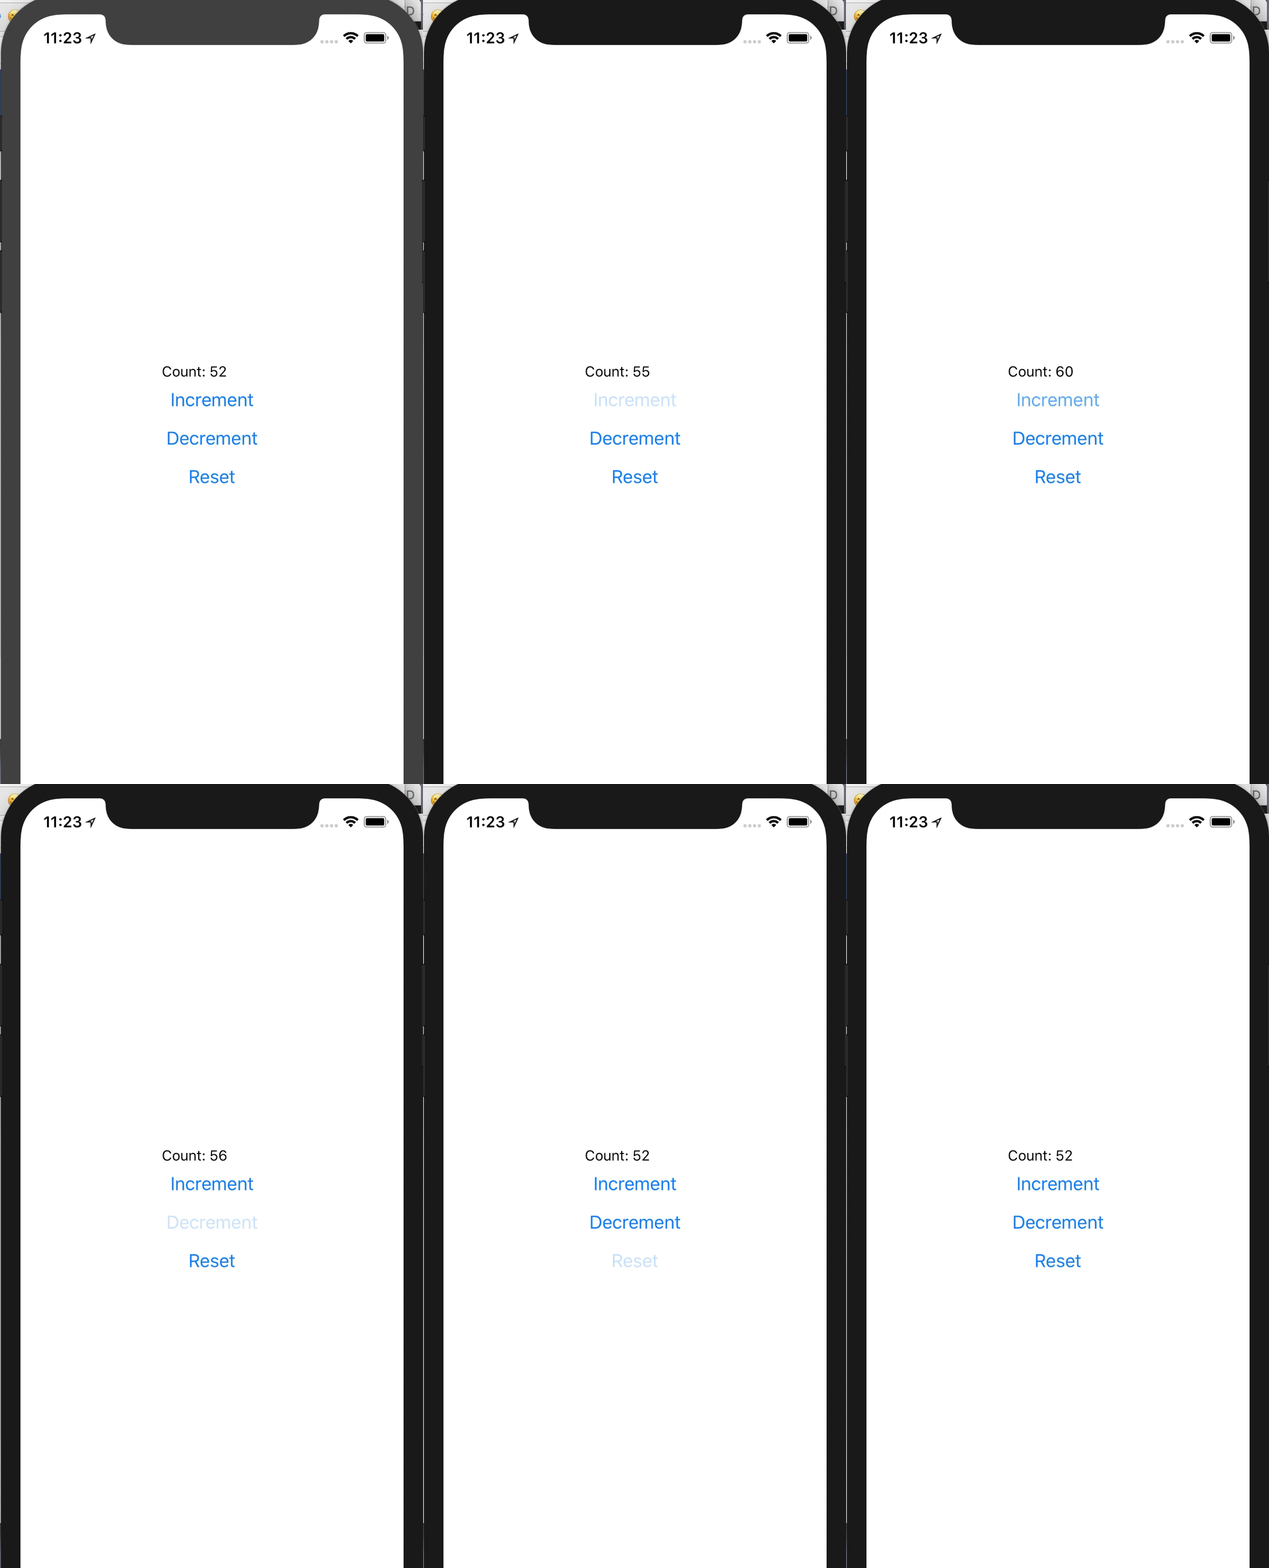
Run your app. npm run ios for iOS and npm run android for Android. The demo below is the React Native iOS app.

This is not very pretty. The buttons don’t look like buttons. They look like text just hanging out in the middle of white space. Changing the button’s background color in React Native Android simply requires adding the color prop:
However, in React Native iOS, the process is different. The color prop only changes the color of the text. The background color remains unchanged. Let’s use a better component called TouchableOpacity like so:
Counter.js
import { StyleSheet, Text, View, Button, Image, TouchableOpacity } from 'react-native';
. . .
<TouchableOpacity onPress={this.reset} style={styles.resetButton} >
    <Text style={styles.resetText}>Reset</Text>
</TouchableOpacity>
Add the styling at the end of the Counter.js file like so:
const styles = StyleSheet.create({
  resetButton: {
    backgroundColor:'#4583c9',
    paddingTop:10,
    paddingBottom:10,
  },
  resetText:{
      color:'#fff',
      textAlign:'center',
      paddingLeft : 10,
      paddingRight : 10
  }
});
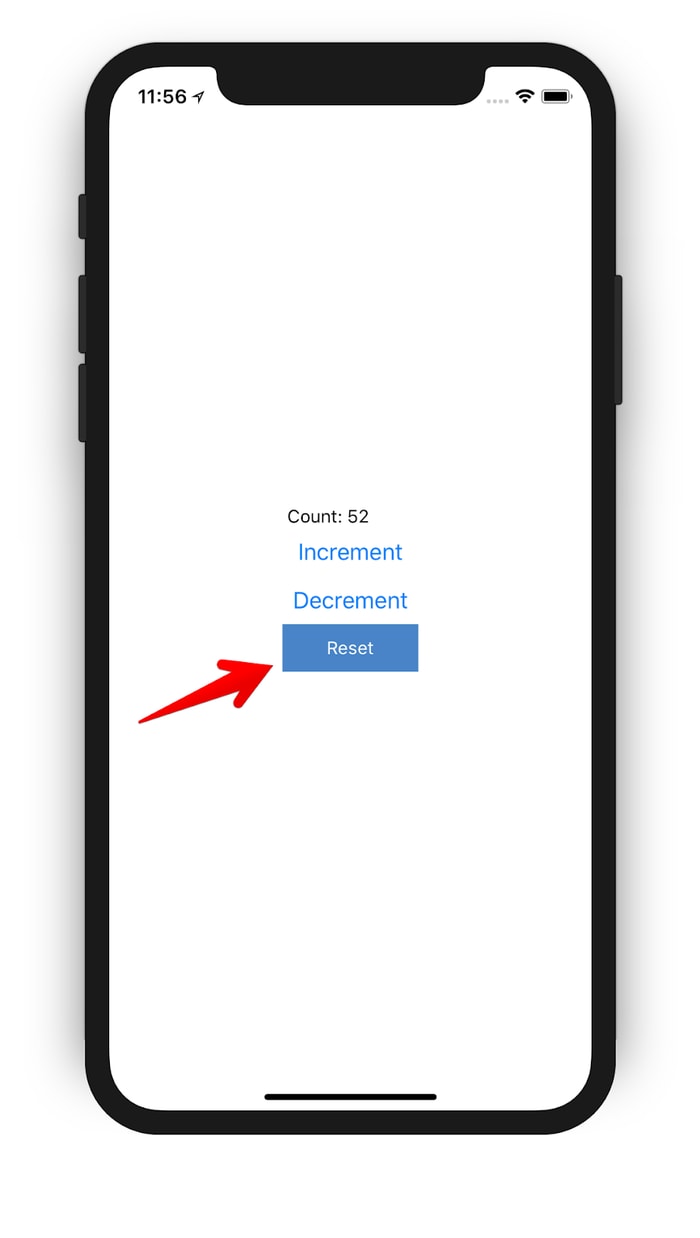
Your reset button should look like the button in the image below:

There are a lot of things you can accomplish with the TouchableOpacity API. Check the docs on different ways to style and change the button’s state.
Conclusion
This is an introduction to React Native. Developing React Native applications requires you to switch frequently between the React Native Android and iOS docs to figure out how components work and display on screen for both devices. Managing state and using props is the same with React. You also could use Redux.
You will be building media rich mobile applications in no time!
In the next part of this tutorial, we’ll build an image viewer app with React Native for the Android and iOS platforms. Stay tuned!


