Probably one of the best things to happen to JavaScript developers, Node.js empowers them to write and ship JavaScript on the back end. Thanks to Node.js, front-end developers can become full-stack developers in a snap.
The procedures below describe how to Node.js file upload's to your local server or to the cloud at Cloudinary.
Set Up a Node Project
First, download and install Node.js on your system. Afterwards, set up a Node.js back-end server with a package, such as Express. Do the following:
Create an
uploaddirectory and runnpm initthere to generate apackage.jsonfile:In the same directory, install Express:
Create an
index.jsfile with the code below:Run the project with the command
node index.js.Your back-end server is now up and running.

Afterwards,
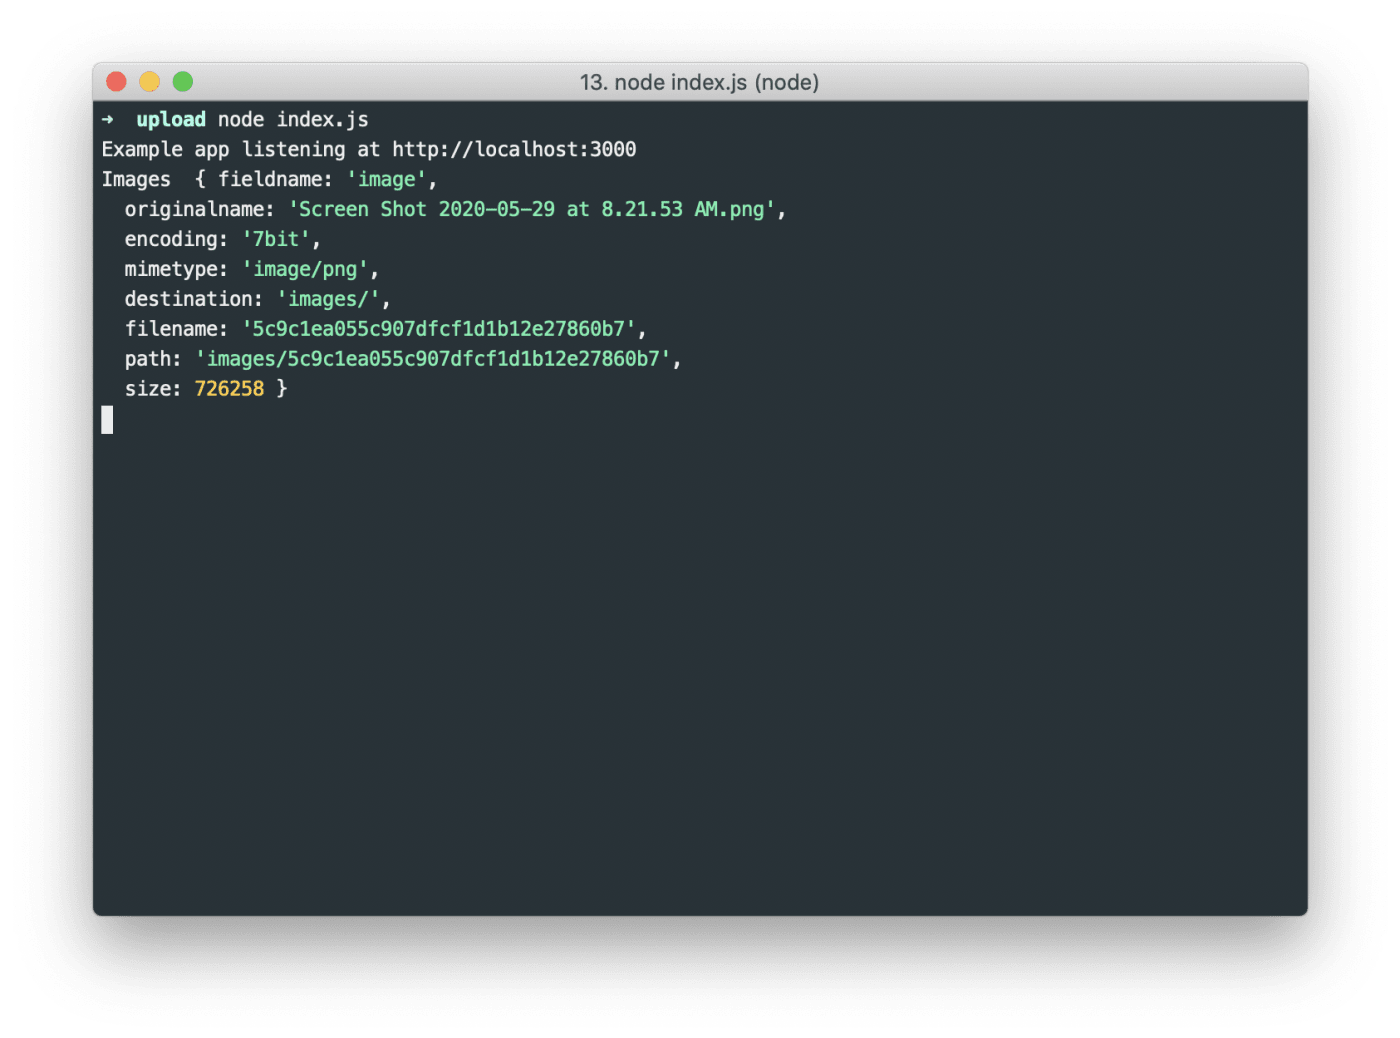
multercreates animagesdirectory in which to display the details of the recently uploaded file in your console. See this example:
For simultaneous multiple file uploads, just change
fileUpload.singletofileUpload.array:
...
app.post('/photos/upload', fileUpload.array('image', 5), function (req, res, next) {
      console.log("Images ", req.file);
})
5 above can be any numeric value, denoting the number of files you plan to upload.
Step 2: Set up file uploads to Cloudinary
Completing step 1 enables you to upload files to your local server. For multiple files, best store them in a central location like Cloudinary and behind a content delivery network (CDN) at scale for efficient retrieval and delivery to users.
This step establishes the mechanics for uploading files to Cloudinary.
As a prerequisite, sign up for a free account on Cloudinary. Note your cloud name and API keys on the dashboard.

Now do the following.
Rewrite
multerto accept zero arguments:Instead of being written to a local directory, the uploaded files now reside in memory temporarily as a buffer.
Install Cloudinary’s Node.js SDK and the
streamifierlibrary:Make the
cloudinaryandstreamifierrequired libraries in your codebase:Rewrite the
/uploadendpoint code to upload files to Cloudinary:app.post('/upload', fileUpload.single('image'), function (req, res, next) { let streamUpload = (req) => { return new Promise((resolve, reject) => { let stream = cloudinary.uploader.upload_stream( (error, result) => { if (result) { resolve(result); } else { reject(error); } } ); streamifier.createReadStream(req.file.buffer).pipe(stream); }); }; async function upload(req) { let result = await streamUpload(req); console.log(result); } upload(req); });
Recall that you rewrote multer earlier to process and store uploaded files temporarily as a buffer. streamifier now converts the uploaded buffer to a readable stream, after which Cloudinary’s upload_stream method streams directly to the cloud.
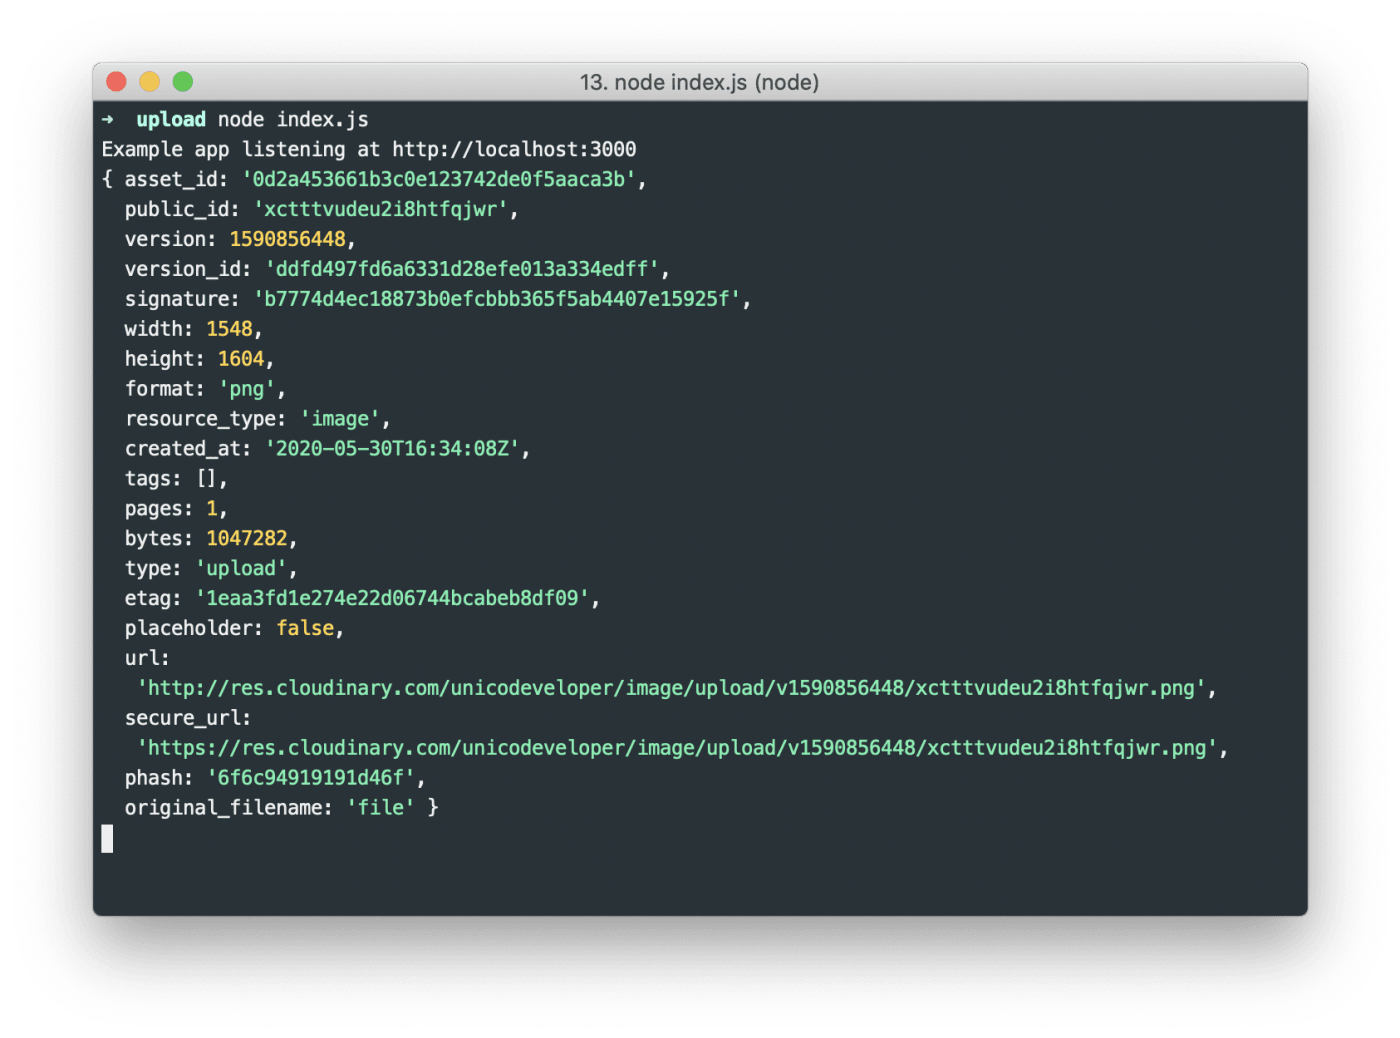
The returned result looks like this, complete with the details on the recently uploaded file:

Now you can fetch the URL from the JSON response and store it in the database. Mission accomplished.
A Word About Cloudinary’s Node.js SDK
Besides uploading images and videos, Cloudinary’s Node.js SDK can also transform, optimizatize, and deliver them. You can seamlessly integrate those capabilities with your Node.js app. For details, see the related documentation.
Want to Learn More About File Uploads?
- Automating File Upload and Sharing
- Uploading PHP Files and Rich Media the Easy Way
- AJAX File Upload - Quick Tutorial & Time Saving Tips
- Impressed by WhatsApp technology? Clone WhatsApp Technology to Build a File Upload Android App
- Direct Image Uploads From the Browser to the Cloud With jQuery
- File Upload With Angular to Cloudinary
- Uploading Vue Files and Rich Media in Two Easy Steps
- Node.js File Upload To a Local Server Or to the Cloud
- Laravel File Upload to a Local Server Or to the Cloud
- JavaScript File Upload in Two Simple Step


