Deep learning, a subset of machine learning, breaks down tasks in ways that make all kinds of machine assists possible. With deep learning, you can identify images by machine, i.e., instead of hand-coding software with specific instructions for a task, you train the machine with large amounts of data and algorithms that enable it to learn how to perform the task.

Even if you have the technical expertise to train models to identify images and detect next-level facial attributes, you can now leverage cognitive services to do your bidding. It’s amazing!
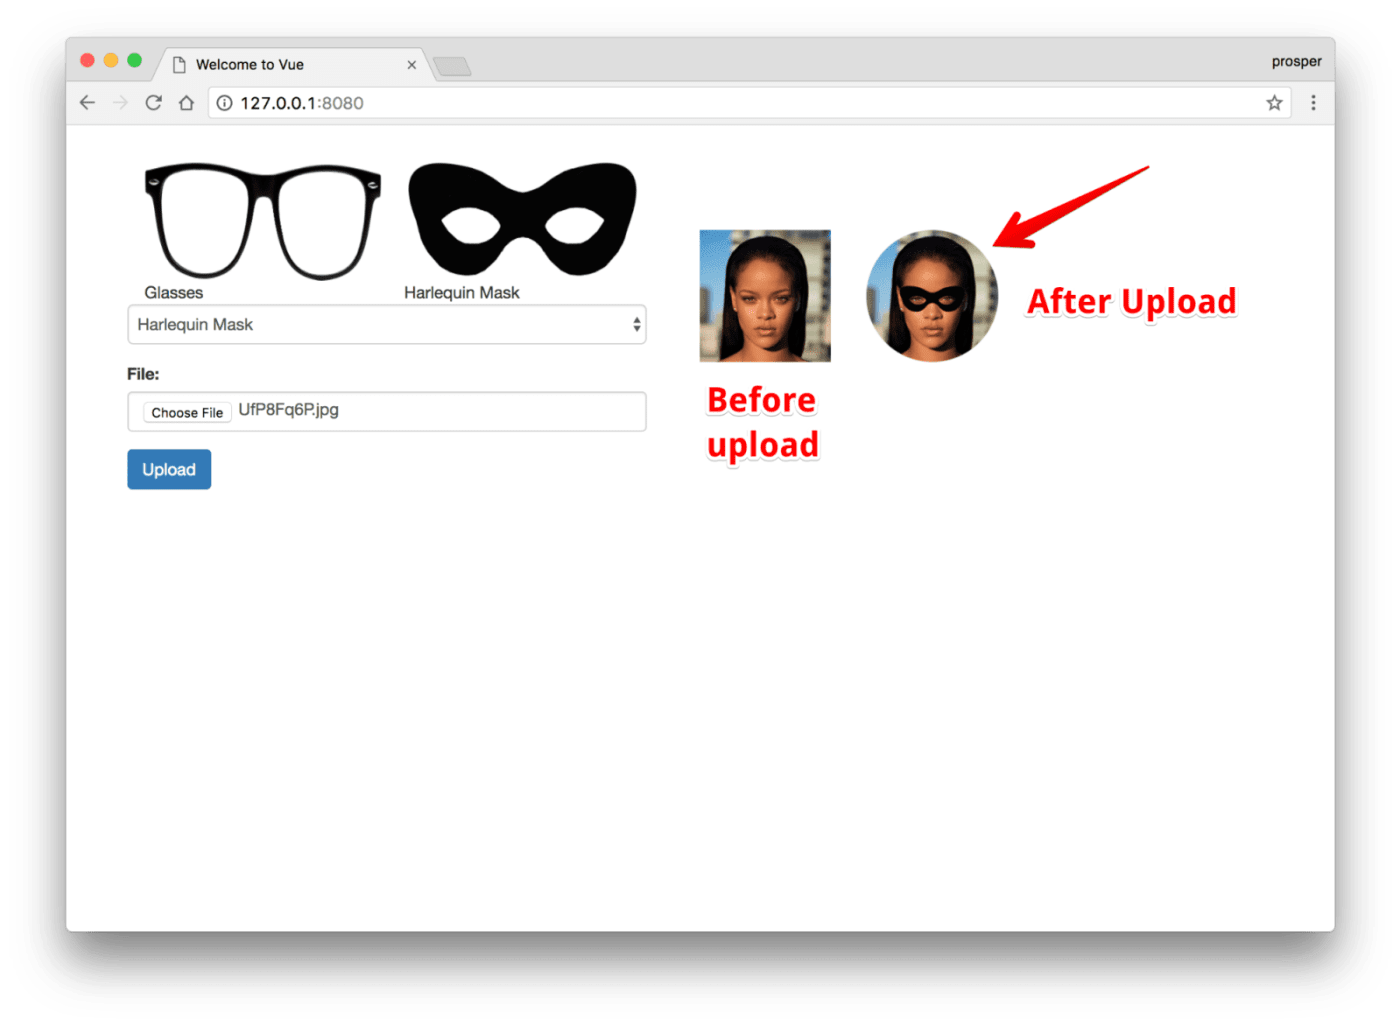
This article shows you how to, with Cloudinary and Microsoft Cognitive Services, build an app that shows how users look wearing various glasses or masks, helping them decide what to purchase.

By way of background, Cloudinary is a media platform on which web and app developers like you can manage the media lifecycle in simple steps: upload rich media, including images and videos, to the cloud for storage; transform and optimize them with dynamic URLs; and deliver them through a multi-CDN system. In essence, do all that without leaving your application code.
Additionally, SDKs are available from Cloudinary for most popular programming languages, including server side, client side, and mobile. As shown in this post, we’re also applying deep learning to enhance our offering.
The Procedure
Follow the steps below.
Step 1: Create a Cloudinary account.
Sign up for a free Cloudinary account.

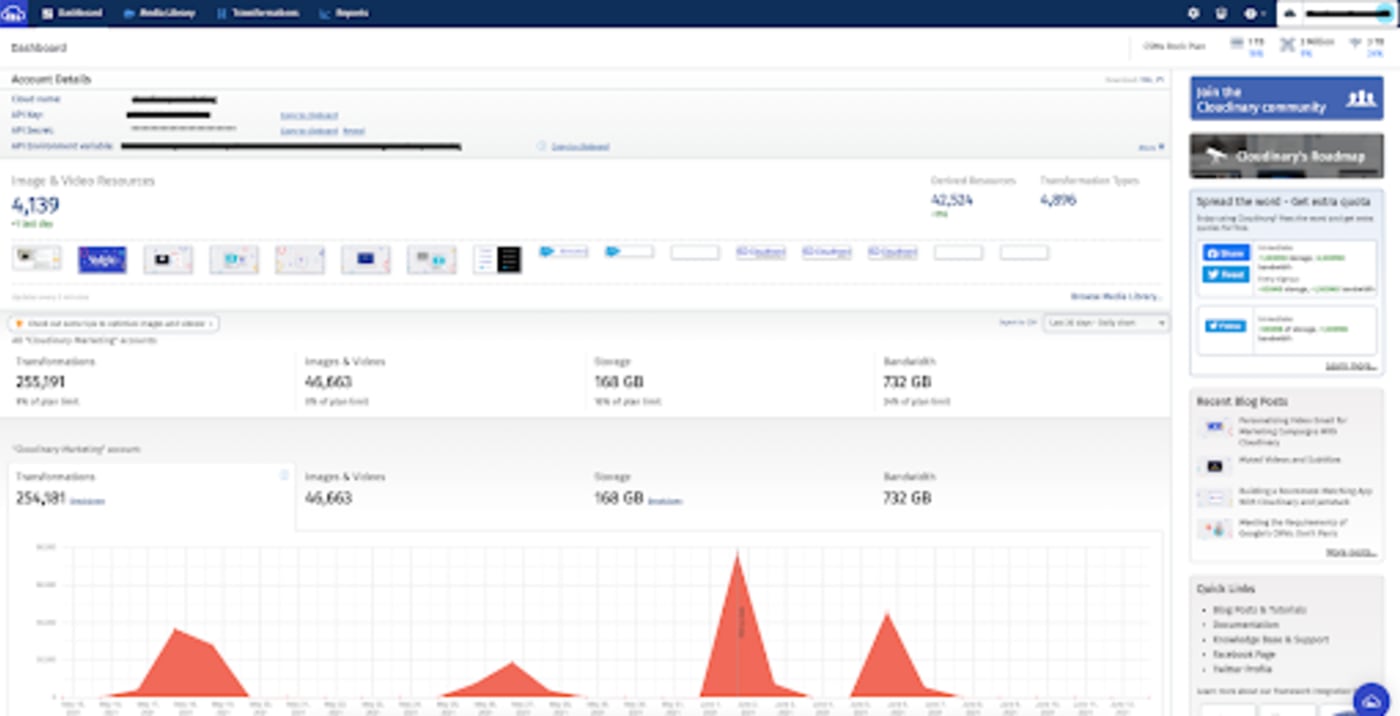
Afterwards, log in and you will be redirected to the dashboard on which are displayed your credentials: your cloud name, API key, and API secret. Take note of them for use later in this tutorial.

Step 2: Set up a Node server.
Initialize a package.json file:
Install the modules:
Here’s what the modules are for:
express: For API routes.-
connect-multiparty: For parsing of HTTP requests with multipartcontent-typeorform-data. cloudinary: For using Cloudinary’s Node.js SDK.cors: For enabling cross-origin resource sharing (CORS).body-parser: For attaching the request body toexpress’sreqobject.
Step 3: Activate the add-on for advanced detection of facial attributes.
From your dashboard, go to the Cloudinary Add-Ons section. Click Rekognition Celebrity Detection and select the Free Plan.
Step 4: Identify the facial attributes.
In your root directory, create a server.js file in which to set up require parameters for the modules you just installed, like this:
const express = require('express');
const app = express();
const multipart = require('connect-multiparty');
const cloudinary = require('cloudinary');
const cors = require('cors');
const bodyParser = require('body-parser');

app.use(bodyParser.json());
app.use(bodyParser.urlencoded({ extended: true }));
app.use(cors());

const multipartMiddleware = multipart();
Next, configure Cloudinary:
cloudinary.config({
    cloud_name: 'xxxxxxxx',
    api_key: 'xxxxxxxx',
    api_secret: 'xxxxxxx'
});
Replace the three variables xxxxxx with the values from your dashboard.
Add the route for uploading and call it /upload:
app.post('/upload', multipartMiddleware, function(req, res) {
  // Upload to Cloudinary
  cloudinary.v2.uploader.upload(req.files.image.path,
    function(error, result) {
      res.json(result);
    },
    // Specify transformation and detection of facial attributes.
    {
      transformation: [
        { width: 700, radius: "max", crop: "scale" },
        { flags: "region_relative", gravity: "adv_eyes", overlay: req.body.item, width: "1.7" }
      ]
    });
The overlay parameter takes the value of req.body.item. In this app, that value is glasses or harlequinmask.
harlequinmask and the bottom one glasses, which you’ll use as overlays for this app. Upload these two images to your account.

Cloudinary’s Advanced Facial Attribute Detection add-on detects specific facial attributes, including the exact position of the eyes of each of the faces in a photo. Based on that information, Cloudinary can position overlays on top of all the detected eye-pairs in an image.
To smartly overlay glasses or harlequinmask on top of the detected eye-pairs in the image uploaded by the user, I’ve set the overlay parameter to the ID of the harlequinmask or glasses image, and the gravity parameter to adv_eyes. I’ve also set region_relative_ flag with a 1.7 width to scale the overlay to 170 percent of the width of the detected eyes, and resized the image to an oval thumbnail with a width of 700 pixels.
Once a user makes a POST request to the /upload route, the route grabs the image file from the HTTP request, uploads the file to Cloudinary, identifies the pair of eyes, and overlays them with the option the user chooses ( glasses or harlequinmask), and returns the correct URL.
Finally, test the face-detection capability with Postman.
Step 5: Build the front end.
Flesh out the front end with the progressive framework Vue.js by following these steps:
1. Install the Vue command-line interface (CLI):
2. Create a simple Vue project with the Vue CLI:
3. Go to the productshowcase directory and create an index.html file with the following code:
<!DOCTYPE html>
<html>
<head>
  <title>Welcome to Vue</title>
  <script src="https://unpkg.com/vue"></script>
  <script src="https://unpkg.com/axios/dist/axios.min.js"></script>
  <link rel="stylesheet" href="https://maxcdn.bootstrapcdn.com/bootstrap/3.3.7/css/bootstrap.min.css" integrity="sha384-BVYiiSIFeK1dGmJRAkycuHAHRg32OmUcww7on3RYdg4Va+PmSTsz/K68vbdEjh4u" crossorigin="anonymous">
</head>
<body>
  <div id="app">

    <div class="container" style="margin-top: 3%; margin-left: 2%;">
      <div class="col-md-6">
        <div>
          <div class="col-md-6">
          <img src="https://res.cloudinary.com/unicodeveloper/image/upload/v1505797868/glasses.png" width="200" height="100" />
          <span> Glasses </span>
          </div>
          <div class="col-md-6">
          <img src="https://res.cloudinary.com/unicodeveloper/image/upload/v1505794374/oie_transparent.png" width="200" height="100" />
          <span> Harlequin Mask </span>
          </div>
        </div>

        <hr />

        <form enctype="multipart/form-data" @submit.prevent="onSubmit">
          <div class="form-group">
            <select class="form-control" name="item" v-model="model.item">
              <option disabled value="">Choose an item</option>
              <option value="glasses"> Glasses </option>
              <option value="harlequinmask"> Harlequin Mask </option>
            </select>
          </div>
          <div class="form-group">
            <label for="">File:</label>
            <input type="file" class="form-control" accept="image/*" name="image" v-on:change="upload($event.target.files)">
          </div>
          <div class="form-group">
            <button class="btn btn-primary" >Upload</button>
            {{ loading }}
          </div>
        </form>
      </div>

      <div class="col-md-4">
        <div class="col-md-6" style="margin-top: 20%;">
          <img id="originalface" class="img-responsive" alt="" width="600" height="600">
        </div>
        <div class="col-md-6" style="margin-top: 20%;">
          <img :src="maskedface" class="img-responsive" alt="" width="400" height="400">
        </div>
      </div>
    </div>
  </div>

  <script>
    new Vue({
      el: '#app',
      data: function() {
        return {
          model: {
           text: '',
           image: null,
           item: ''
          },
          maskedface: null,
          loading: '',
        }
      },
      methods: {
        upload: function(files) {
          this.model.image = files[0]
          this.showPreview(files[0]);
        },
        showPreview: function(file) {
          var reader = new FileReader();
          reader.onload = function (e) {
              document.getElementById("originalface").src = e.target.result;
          };
          // read the image file as a data URL.
          reader.readAsDataURL(file);
        },
        onSubmit: function() {
          // Assemble form data
          const formData = new FormData()
          formData.append('image', this.model.image);
          formData.append('item', this.model.item);
          this.loading = "Processing....Please be patient."

          // Post to server
          axios.post('https://localhost:3333/upload', formData)
          .then(res => {
            // Update UI
            this.maskedface = res.data.url
            this.loading = ''
          })
        }
      }
    })
  </script>
</body>
</html>
4. Run the app.
Let’s step through the code. First, take a look at the form for uploading images.
<form enctype="multipart/form-data" @submit.prevent="onSubmit">
          <div class="form-group">
            <select class="form-control" name="item" v-model="model.item">
              <option disabled value="">Choose an item</option>
              <option value="glasses"> Glasses </option>
              <option value="harlequinmask"> Harlequin Mask </option>
            </select>
          </div>
          <div class="form-group">
            <label for="">File:</label>
            <input type="file" class="form-control" accept="image/*" name="image" v-on:change="upload($event.target.files)">
          </div>
          <div class="form-group">
            <button class="btn btn-primary" >Upload</button>
            {{ loading }}
          </div>
   </form>
Note that you’ve bound the upload form to an upload event-handler and attached a change event to the Choose File button. Once a user has picked a file, the showPreview method called in the Vue instance below is invoked, showing a thumbnail preview of the image about to be uploaded.
 Thumbnail preview of the image about to be uploaded
Check out the methods, model, and data properties on your Vue instance:
new Vue({
      el: '#app',
      data: function() {
        return {
          model: {
           text: '',
           image: null,
           item: ''
          },
          maskedface: null,
          loading: '',
        }
      },
      methods: {
        upload: function(files) {
          this.model.image = files[0]
          this.showPreview(files[0]);
        },
        showPreview: function(file) {
          var reader = new FileReader();
          reader.onload = function (e) {
              document.getElementById("originalface").src = e.target.result;
          };
          // read the image file as a data URL.
          reader.readAsDataURL(file);
        },
        onSubmit: function() {
          // Assemble form data
          const formData = new FormData()
          formData.append('image', this.model.image);
          formData.append('item', this.model.item);
          this.loading = "Processing....Please be patient."

          // Post to server
          axios.post('https://localhost:3333/upload', formData)
          .then(res => {
            // Update UI
            this.maskedface = res.data.url
            this.loading = ''
          })
        }
      }
    })
On submission, the form calls the onSubmit function in the Vue method to make a POST request to the back end and then return the data to the front end.
The data returned is the modified image with the overlay, which is reflected in the UI.
 An uploaded image of Rihanna wearing the selected Harlequin mask
 An uploaded Image of Christian Nwamba, aka codebeast, wearing the selected glasses
Feel free to check out the source code.
Conclusion
You’ve now learned how to use Cloudinary capabilities to detect facial attributes in an image and transform it with an overlay. The transformation options are virtually limitless. So, let your creative juices flow and enhance your business with products that users will love. As shown in this tutorial, you don’t have to spend time building them: Cloudinary’s got you!


