Vue.js, one of the most popular JavaScript front-end frameworks, is renowned for its simplicity and intuitiveness. Additionally, an active community ensures that plugins or packages, which you can quickly integrate with your app, are available for the Vue.js capabilities.
This article steers you through a painless setup process for Vue file upload's to Cloudinary. Follow the procedures below.
Set Up a Vue Project
The most straightforward way in which to quickly set up a Vue project is through Vue CLI.
First, install Vue CLI:
Second, create a Vue project:
Now run the project:
Set Up File Uploads
Step 1: Edit App.vue.
Edit the App.vue file, as follows:
1. Within the <template> tag, delete all the code except for the <img> and <HelloWorld> components.
2. Add an Upload files button:
@click=”openUploadModal means that clicking Upload files calls the openUploadModal function.
3. Add the openUploadModal function to the JavaScript section of the file:
<script>
import HelloWorld from './components/HelloWorld.vue'

export default {
  name: 'App',
  components: {
    HelloWorld,
  },
  methods: {
    openUploadModal() {
     }
}
</script>
Step 2: Integrate With the Cloudinary Upload Widget.
Use the Cloudinary upload widget for Vue file uploads. Seamless to integrate, that widget also offers many other remarkable features, including transformation and delivery.
Do the following:
1. Open your public/index.html file and add the widget script to the <body> tag:
<script src="https://widget.cloudinary.com/v2.0/global/all.js" type="text/javascript"></script>
2. In App.vue, populate the openUploadModal function with this code:
  window.cloudinary.openUploadWidget(
        { cloud_name: '<your-cloud-name>',
          upload_preset: '<your-upload-preset>'
        },
        (error, result) => {
          if (!error && result && result.event === "success") {
            console.log('Done uploading..: ', result.info);          }
        }).open();
The code above calls the widget’s openUploadWidget function, invoking a robust upload modal and uploading the file.
Note: Obtain your cloud name and value for the upload preset from your Cloudinary account’s dashboard and settings page, respectively, for the values of
your-cloud-nameandyour-upload-preset. Signing up for a Cloudinary account is a prerequisite.
 Settings Page for Upload Presets
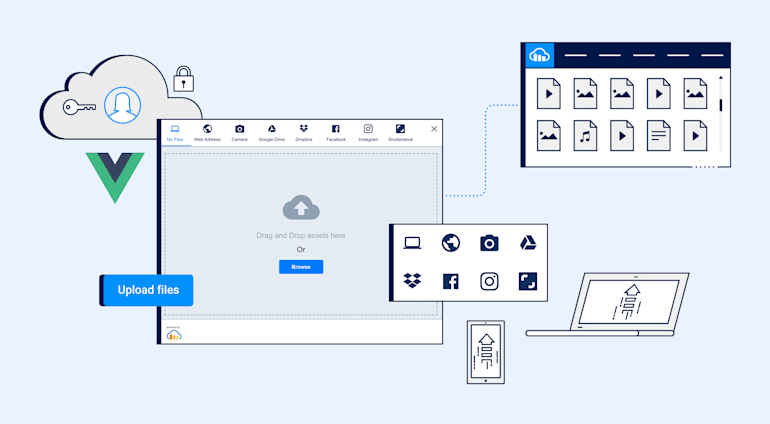
Now click Upload files for the upload widget:
 Cloudinary Upload Widget
Open your browser’s DevTools so that you can watch the console during the upload:

The console returns all the information on the upload, including the URL. To display the image on your app, add a data variable to your JavaScript code in App.vue and assign the URL from the returned JSON response to the variable, as follows:
<script>
import HelloWorld from './components/HelloWorld.vue'

export default {
  name: 'App',
  components: {
    HelloWorld,
  },
  data() {
    return {
      url: '',
    }
  },
  mounted() {

  },
  methods: {
    openUploadModal() {
      window.cloudinary.openUploadWidget(
        { cloud_name: 'unicodeveloper',
          upload_preset: 'b9ej8dr5'
        },
        (error, result) => {
          if (!error && result && result.event === "success") {
            console.log('Done uploading..: ', result.info);
            this.url = result.info.url;
          }
        }).open();
    }
  }
}
</script>

Finally, add the following to your template below the code for the **Upload files** button:

```html
....
….
….

<div>
        <img :src="url" />
</div>
Now upload again.

Yes! That’s a direct Vue file upload with no back-end setup, and pure vibes.
Other Enhancements
With Cloudinary’s upload widget, you can do a lot more than just uploading files. An entire suite of drop-in Vue UI components are available for cropping, transformation, video display, and numerous other tasks.
Why not try a few by sprinkling them in your codebase to enhance the display of your uploaded image? Follow these steps:
1. Install Cloudinary’s Vue SDK:
2. Update App.vue to—
- Import the components from the
cloudinary-vuepackage. - Place the UI components in the template.
- Add a
publicIdvariable to the Vuedata()function. - Assign the
public_idvalue returned from Cloudinary’s JSON response to the data variable’s public ID (public_id).
<template>
  <div id="app">
    <img alt="Vue logo" src="./assets/logo.png">
    <HelloWorld msg="Welcome to Your Vue.js File Upload App"/>

    <div>
      <button @click="openUploadModal">Upload files</button>
    </div>

    <div>
      <cld-context cloudName="<your-cloud-name>">
        <div style="display: flex; justify-content: center;">
          <cld-image :publicId="publicId" width="250" crop="scale" />
          <cld-image :publicId="publicId" width="300" crop="scale" />
          <cld-image :publicId="publicId" width="350" crop="scale" />
          <cld-image :publicId="publicId" width="400" crop="scale" />
          <cld-image :publicId="publicId" width="450" crop="scale" />
        </div>
      </cld-context>
    </div>
  </div>
</template>

<script>
import HelloWorld from './components/HelloWorld.vue'
import { CldContext, CldImage } from 'cloudinary-vue'

export default {
  name: 'App',
  components: {
    HelloWorld,
    CldContext,
    CldImage
  },
  data() {
    return {
      url: '',
      publicId: ''
    }
  },
  methods: {
    openUploadModal() {
      window.cloudinary.openUploadWidget(
        { cloud_name: '<your-cloud-name>',
          upload_preset: '<your-upload-preset>'
        },
        (error, result) => {
          if (!error && result && result.event === "success") {
            console.log('Done uploading..: ', result.info);
            this.url = result.info.url;
            this.publicId = result.info.public_id;
          }
        }).open();
    }
  }
}
</script>

<style>
#app {
  font-family: Avenir, Helvetica, Arial, sans-serif;
  -webkit-font-smoothing: antialiased;
  -moz-osx-font-smoothing: grayscale;
  text-align: center;
  color: #2c3e50;
  margin-top: 60px;
}
</style>
Now upload your files. Yaaaaay!

A Challenge for You
Here’s a challenge for you: take Vue file uploads to a more sophisticated level. Maybe start with the CldTransformation and CldPoster components.
The sky’s the limit as to how many amazing things you can do with Cloudinary to enhance your app’s media capabilities. Do start right away! You’ll be happy you did.
Want to Learn More About File Uploads?
- Automating File Upload and Sharing
- Uploading PHP Files and Rich Media the Easy Way
- AJAX File Upload - Quick Tutorial & Time Saving Tips
- Impressed by WhatsApp technology? Clone WhatsApp Technology to Build a File Upload Android App
- Direct Image Uploads From the Browser to the Cloud With jQuery
- File Upload With Angular to Cloudinary
- Uploading Vue Files and Rich Media in Two Easy Steps
- Node.js File Upload To a Local Server Or to the Cloud
- Laravel File Upload to a Local Server Or to the Cloud
- JavaScript File Upload in Two Simple Step


