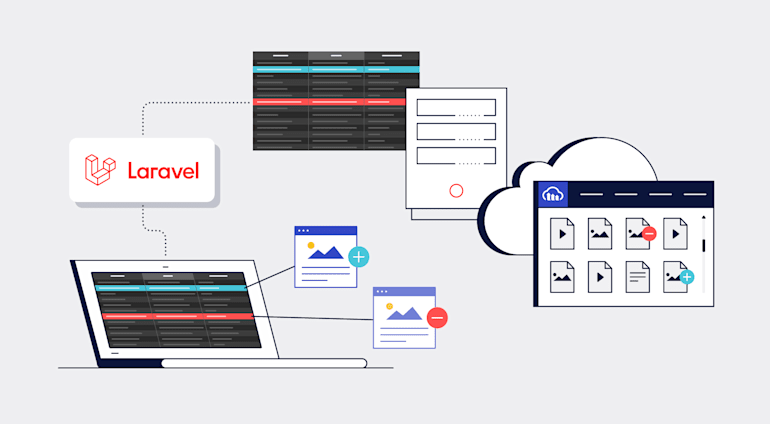
Laravel, currently the most popular PHP framework, offers databases an efficient, well-written Active Record implementation, called the Eloquent Object-Relational Mapper (ORM). Specifically, Eloquent maps a database table to an Eloquent model along with fluent methods and expressions for querying and modifying the database’s records.
Given that you as web developers routinely and frequently upload, download, and transform media files, being able to efficiently associate them with your Laravel Eloquent models saves time and resources. This tutorial describes that process, step by step, with code examples.
Set Up a Laravel Project
Install Composer and PHP on your development or production machine and then run this command:
Go to the
projectdirectory and rename theenv.examplefile to.env.Run the project with the command
php artisan serve.
Your Laravel project is now up and running.
Set Up Cloudinary’s Laravel SDK
Install Cloudinary’s Laravel SDK:
Note: Be sure to follow the steps in the #Installation section. Publish the configuration file and add your Cloudinary credentials to the
.envfile of your app.Publish the migration file in Cloudinary’s Laravel SDK with this command:
Run
php artisan migrateto create the required media table in your database. Verify that the table is in place afterwards.Before uploading files to Cloudinary, sign up for a free Cloudinary account, log in, and note your cloud name and API keys from the dashboard.

Set Up the Mechanics for Attaching Media
Follow the two steps below to attach media to a webpage, which can accept as many as you desire as thumbnails or as files. Follow these two steps:
Create with Laravel migrations a
pagestable with two fields,idandbody, in your database.Create the
Pagemodel that maps to thepagesdatabase table:
<?php

namespace App;

use Illuminate\Database\Eloquent\Model;

class Page extends Model
{

    /**
    * The table associated with the model.
    *
    * @var string
    */
    protected $table = 'pages';
}
Set Up the Mechanics for Attaching Files to Laravel Eloquent Models
Next, import the CloudinaryLabs\CloudinaryLaravel\MediaAlly trait into your model so that you can attach media files to the Eloquent model:
<?php

namespace App;

use Illuminate\Database\Eloquent\Model;
use CloudinaryLabs\CloudinaryLaravel\MediaAlly;

class Page extends Model
{
    use MediaAlly;

    ...
}
App\Models\Page.php
Attach, Retrieve, Or Delete Media Files
You can now attach media files to the Page model in your Laravel controller. Below are three use cases. The first two assume that you’re uploading the files as attachments for the first time
First Use Case
Create a page and then attach files to it:
...
$page = Page::create($this->request->input());
$page->attachMedia($file);   // Example of $file is $request->file('file');
...
To verify, check the media table in your database for a new record that looks like this:

Second Use Case
Fetch an existing page and attach media files to it:
...
$page = Page::find(2);
$page->attachMedia($file);   // Example of $file is $request->file('file');
...
Third Use Case
In this instance, you’ve already uploaded to Cloudinary or another cloud storage the media files to be attached to a page. Call the attachRemoteMedia method:
...
$page = Page::create($this->request->input());
$page->attachRemoteMedia($existingRemoteUrl);
...
File Retrieval
You can retrieve all the files you’ve attached to the Page record, or just the first or last file.
To retrieve all the files that are attached to the Page record:
To retrieve the first file that’s attached to the Page record:
To retrieve the last file that’s attached to the Page record:
File Deletion
To delete all the files you’ve attached to the Page record:
Leverage More Cloudinary Capabilities
Uploading and attaching files barely scratches the surface of media management. Cloudinary helps you administer the entire spectrum of your media’s lifecycle, end to end, from upload and transformation to optimization and delivery. Do check it out.


